Solutions for dimensional control

Very high precision measurements and aesthetic control
Quality control of microtechnical parts
Dimensional control

Quality control in production is necessary to monitor the manufacturing process in order to make the necessary corrections and thus ensure that the manufactured parts meet the requirements. In the specific field of microtechnology, tolerances can be very tight, requiring special attention to measurement. Historically, these were carried out using contact measuring benches; these are now often replaced by optical devices.

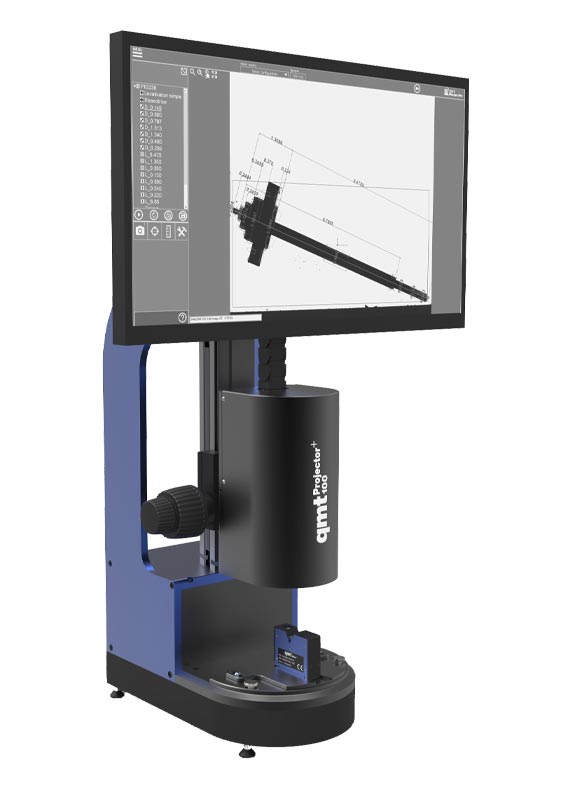
Automated optical inspection ensures the quality of manufactured parts while optimizing manufacturing costs. This inspection can be carried out by sampling with a testing device such as the qmtprojector-100 or 100% with a testing station integrated into an automatic process.

Customizable solutions to perfectly meet your needs
Personalization
products

QMT products can be customized

Product customization
Solution on
measure

Tailor-made solutions to meet specifications

Tailor-made solutions
Product
customer

A tailor-made solution industrialized to be a product

Customer product
Standard products for dimensional control
Dimensional measurements
open fields

qmtprojector-100

Beat measurements
and shares

qmtwheeltest-vision

Pose for measurement
of turned parts

qmtvline

Sorting machine
for axes

qmtinspect-200
Would you like more information or a meeting? Contact form
Full-field optical measurement
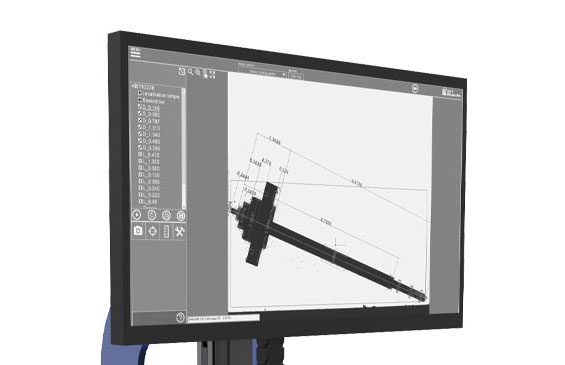
Full-field optical devices enable fast, accurate, and non-contact inspection of all part characteristics. Dimensions can be measured with sub-micron accuracy in less than a second.
High-level business functions allow for the measurement of complex features such as gears or threads without programming. Since the measurement is non-contact, there is no risk of damage to the part and the operator has no influence on the measurement.
qmtprojector-100
The importance of installation for turned parts
To accurately measure a turned part, it is necessary to position it so that its axis is perfectly perpendicular to the optical axis. This operation is generally carried out by placing the part on two blades and offsetting the height of one of the blades; this operation is time-consuming and generates a risk of measurement error.
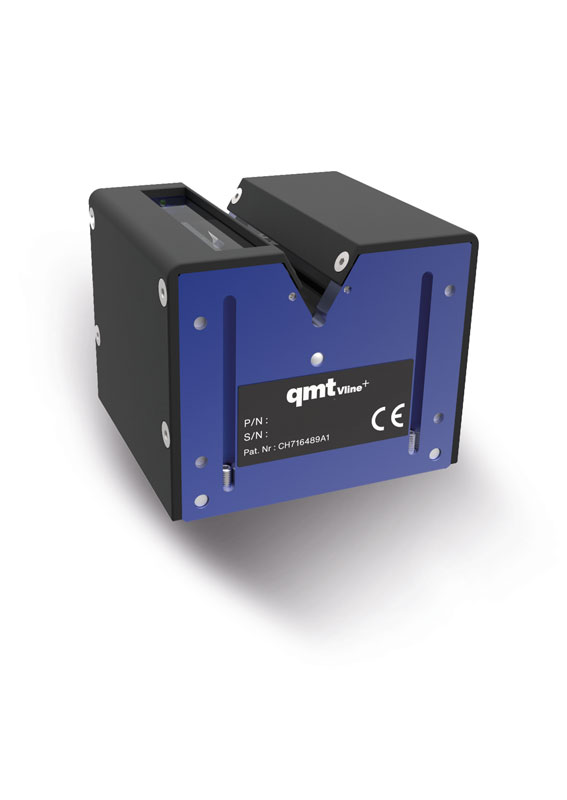
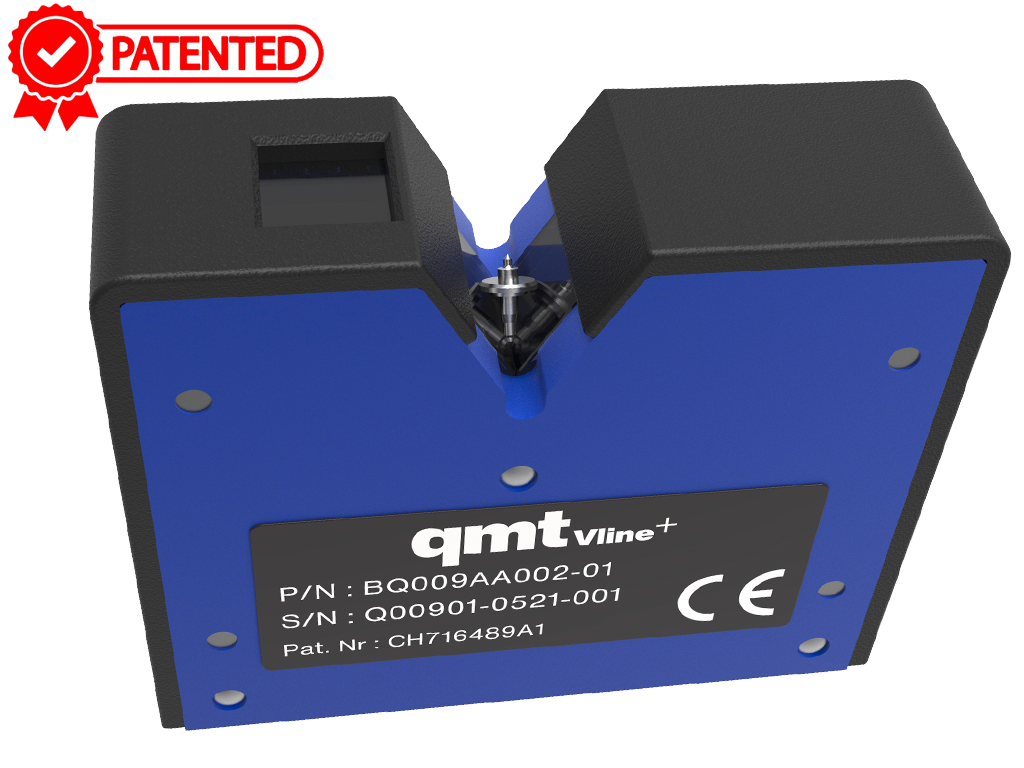
To facilitate this operation, the qmtvline fixture was developed. It consists of two flat transparent supports that create a certain angle between them, allowing the part to naturally "lean" thanks to gravity. The optical path of the light emitted by the source is modified so that the image seen by the camera is no longer from above but from the side, thus the measured dimensions correspond to reality. It is therefore no longer necessary to precisely position the part along its axis of rotation, so no more planing operations.
Qmtvline installation
Dynamic measurement for beat measurement
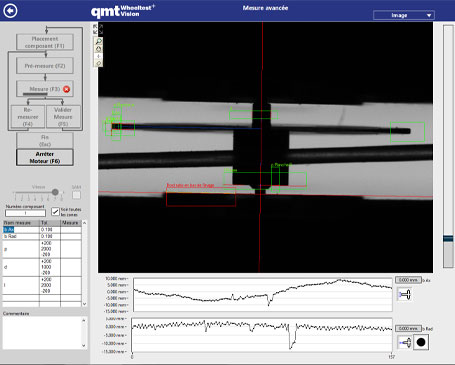
Full-field optical devices enable fast, accurate, and non-contact inspection of all part characteristics. Dimensions can be measured with sub-micron accuracy in less than a second.
Some characteristics such as runouts and splits require dynamic measurement with part rotation. They can be measured on the same equipment with the specific wheeltest fixture and the qmtwheeltest-vision software function.
qmtwheeltest-vision